Instruction Manual: Teeth Moulding Kit
Get the Perfect Fit from Home
Creating an accurate mould is the most important step in getting your custom grillz. A precise impression ensures your grillz fit comfortably and look exactly how you want them.
Please read these instructions fully and watch the video tutorial below before opening your putty.
Video Tutorial
For a visual guide on how to mix and apply the putty, please watch our official instruction video.
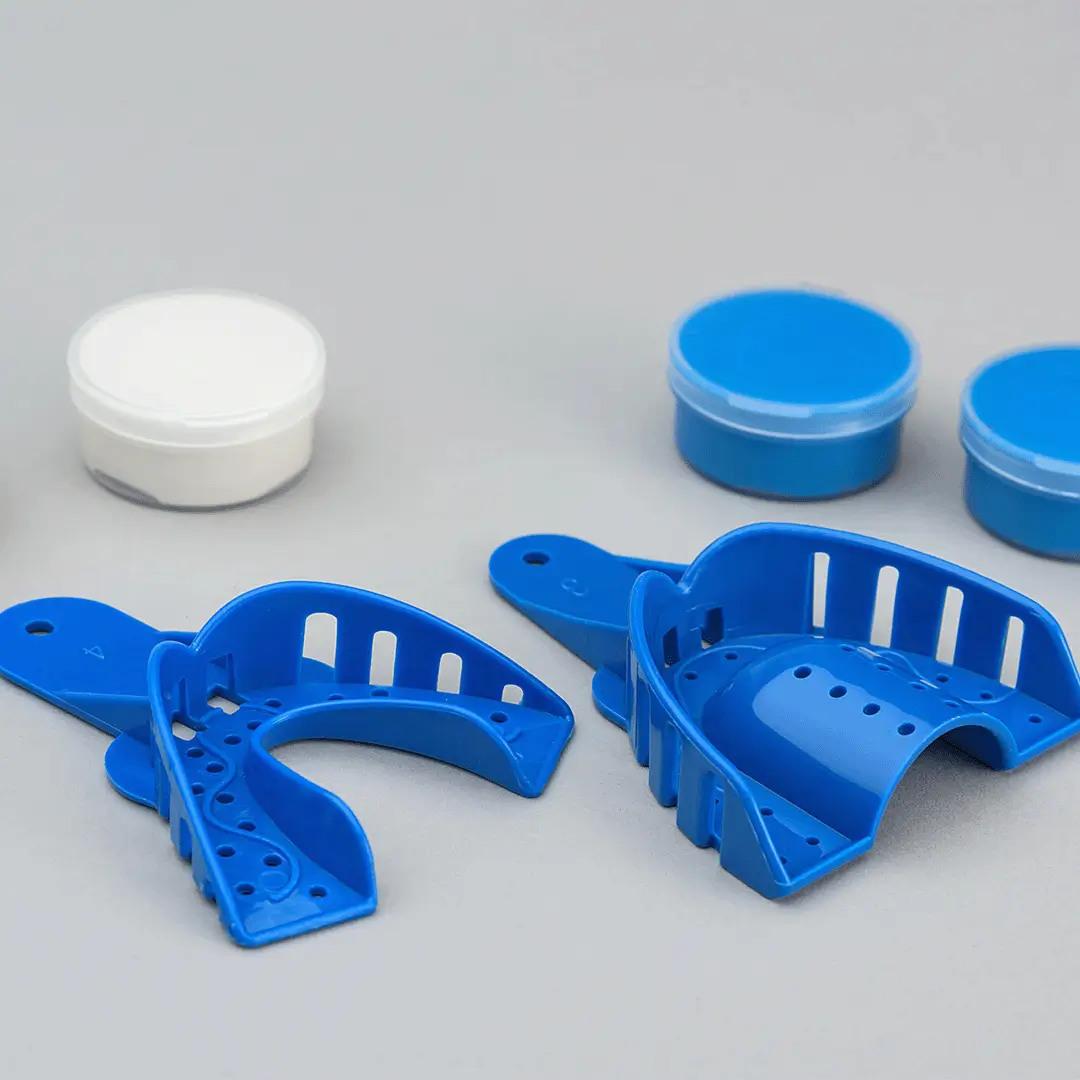
What’s in Your Kit?
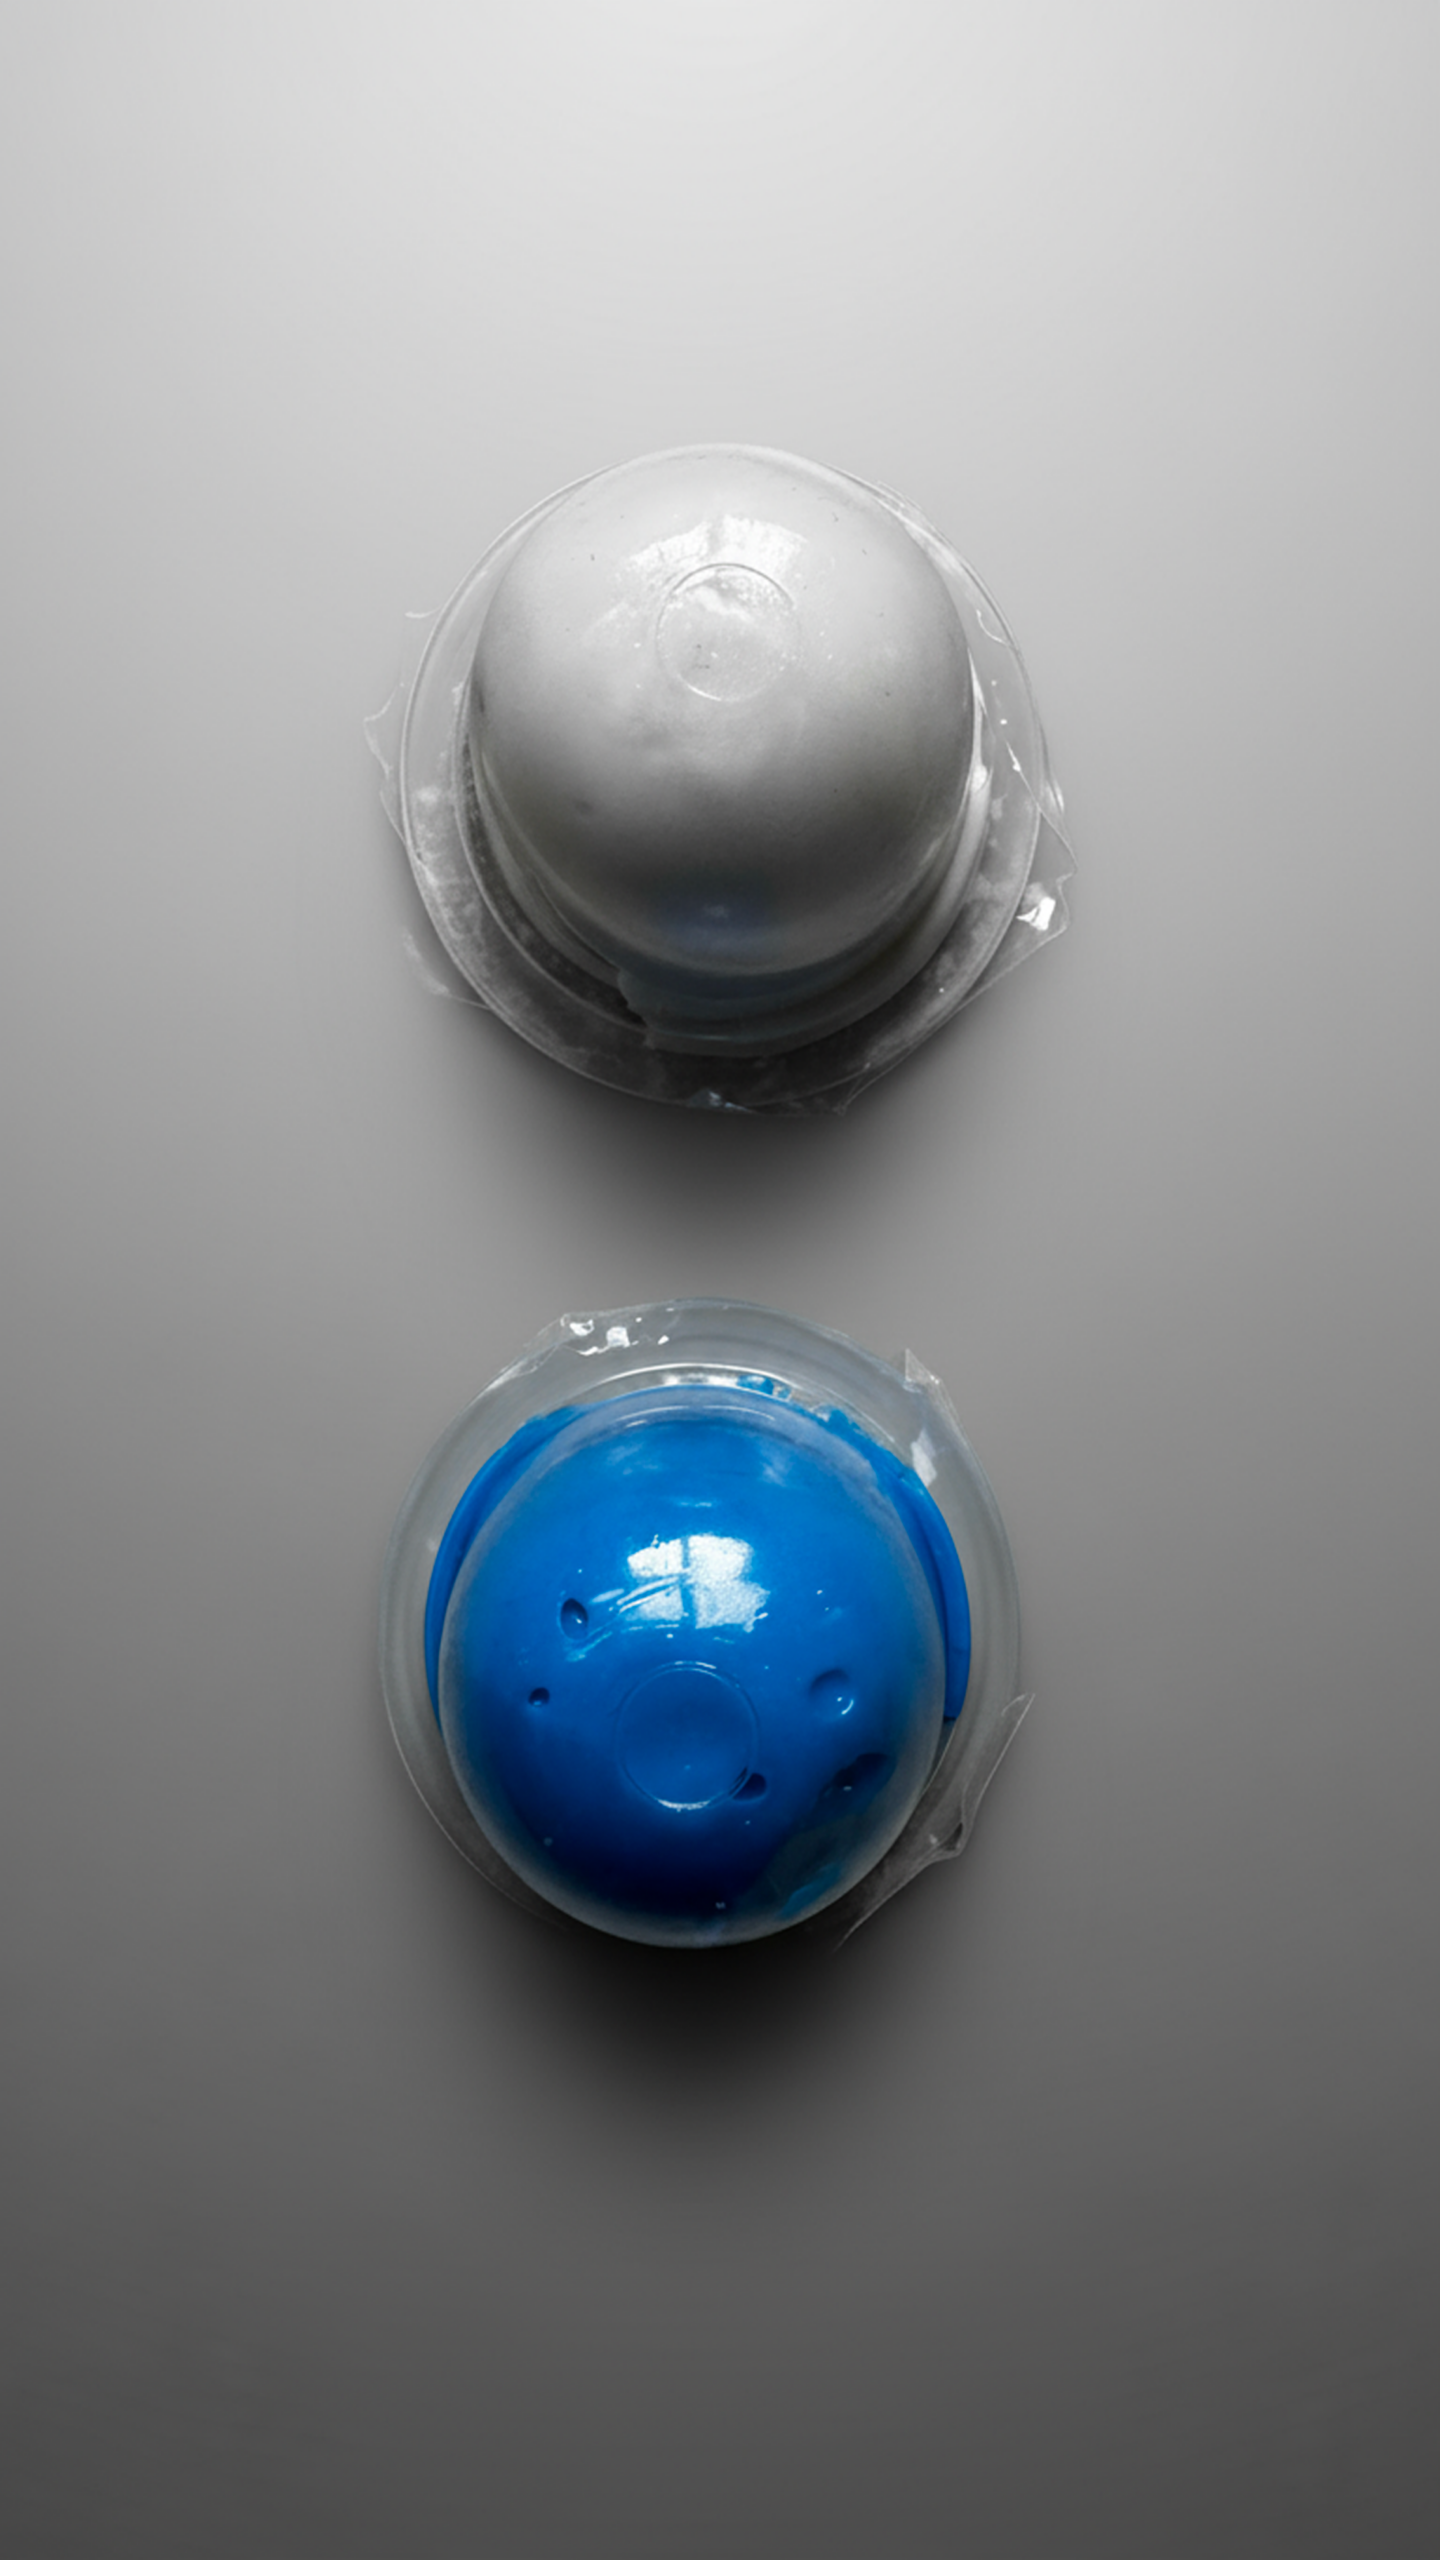
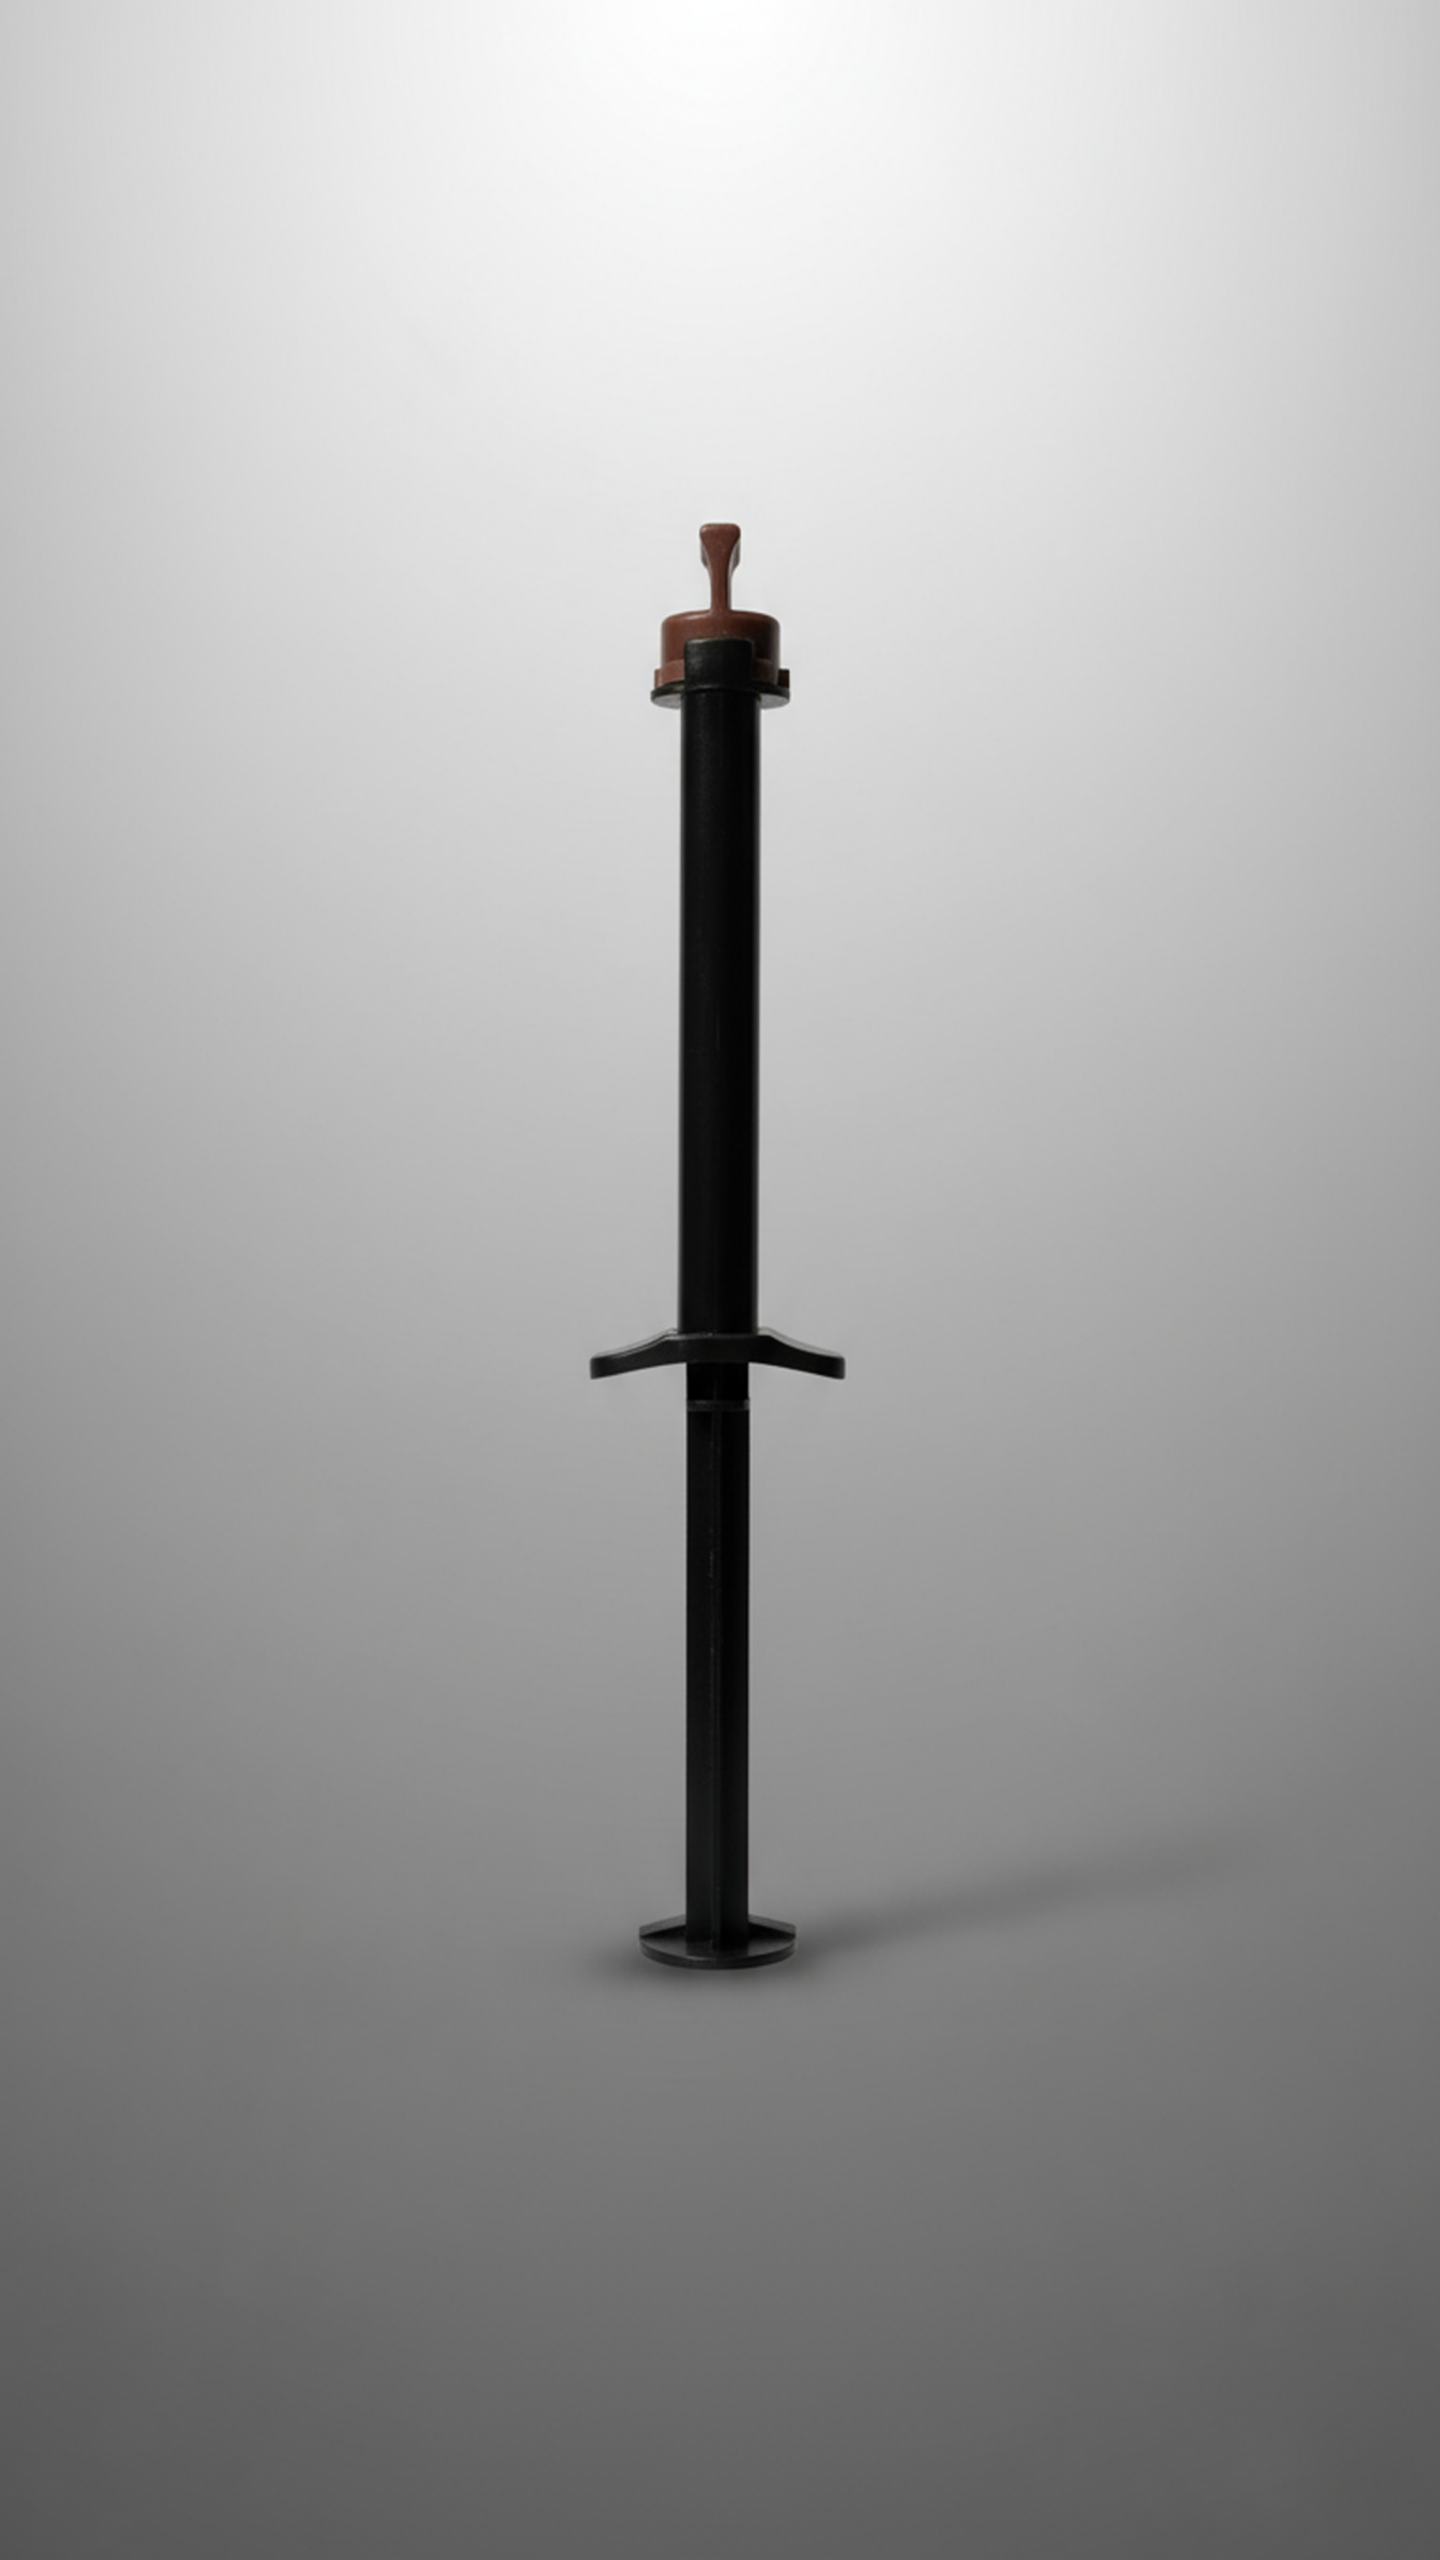
- Impression Putty: Two sets of putty (Base & Catalyst).
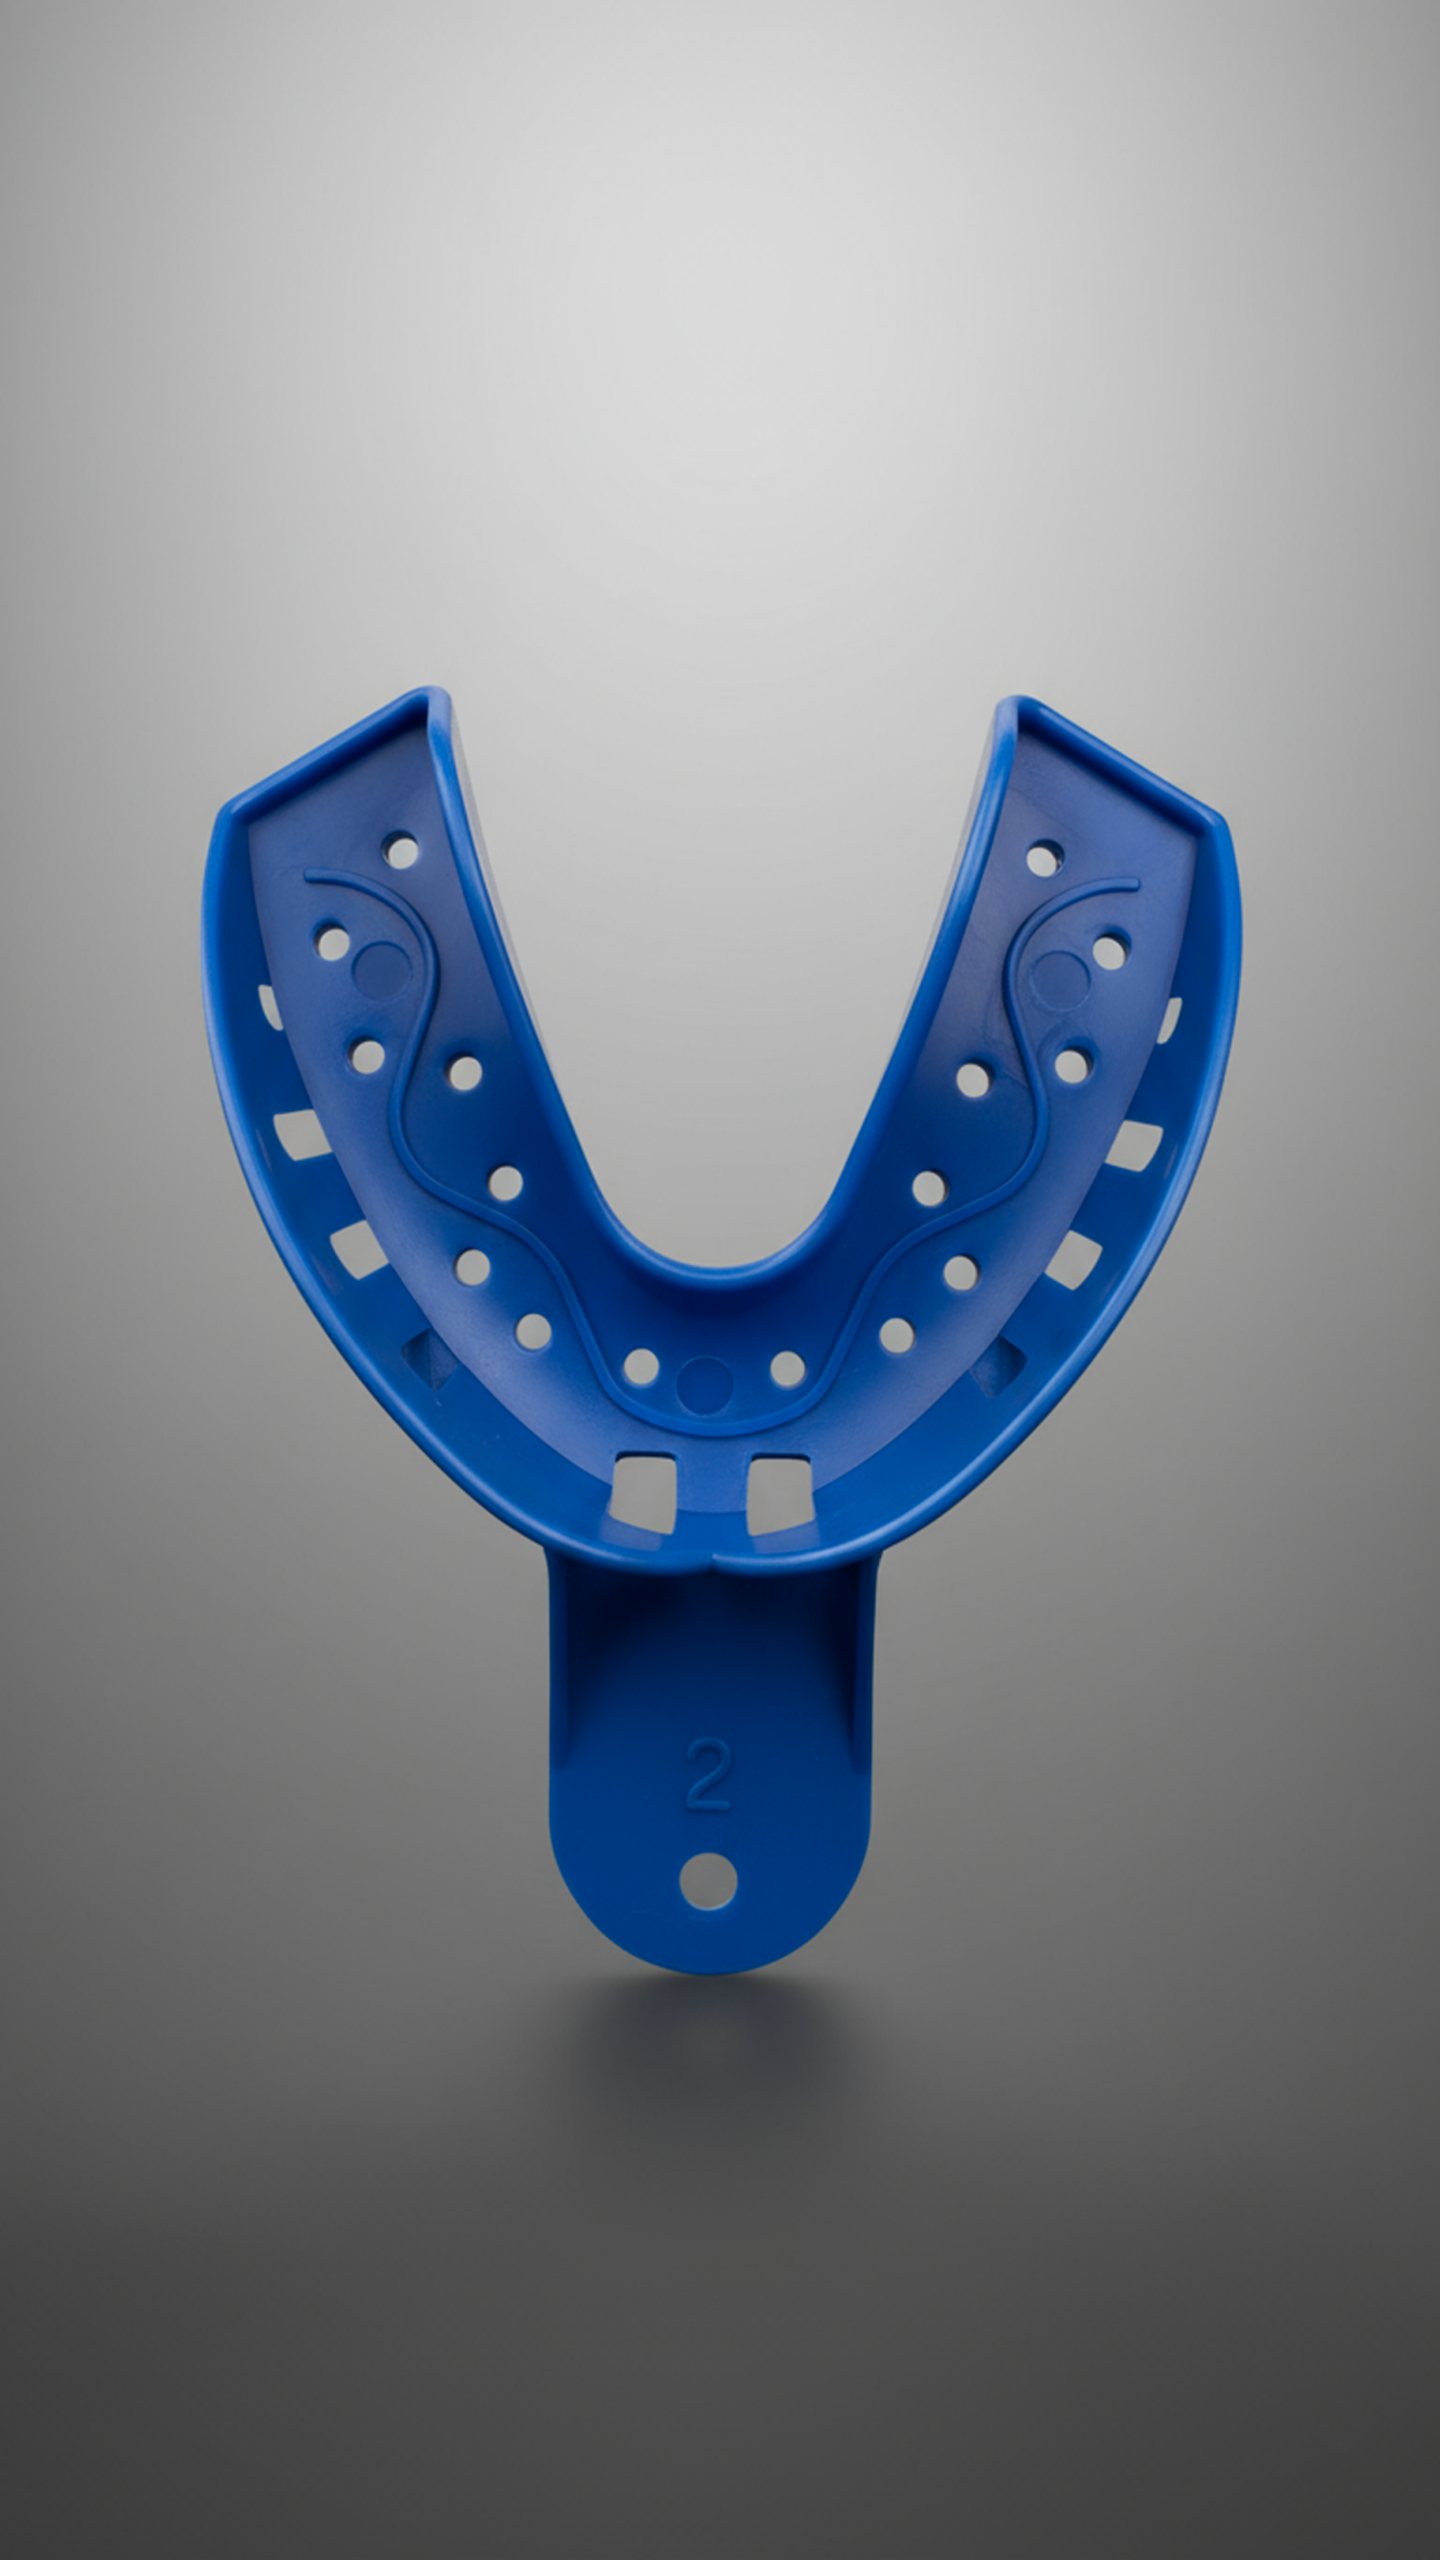
- Moulding Trays: Trays to hold the putty (sizes may vary).
- Instruction Card: (Please refer to the specific mixing times on your kit’s label if they differ from this guide).
Step 1: Preparation
- Brush Your Teeth: Ensure your teeth are clean and free of food debris. Floss if necessary.
- Wash Your Hands: Thoroughly wash and dry your hands before handling the putty.
- Check the Tray: Test the empty tray in your mouth to ensure it fits comfortably over your teeth without pinching.
Step 2: Mixing the Putty
Work quickly! Once the two putties touch, they begin to harden immediately.
- Take one set of the coloured and white putty from their containers.
- Mix them together using your fingers. Knead them vigorously until they blend into a single, uniform colour.
- Tip: Do this in about 30–45 seconds. Do not over-mix, or the putty will harden before you can use it.
- Roll the mixed putty into a “sausage” or log shape.
Step 3: Loading the Tray
- Place the rolled putty into the moulding tray.
- Spread it evenly to cover the entire arch of the tray. Ensure it is smooth and fills the tray walls.
Step 4: Taking the Impression
- Insert the Tray: Open your mouth wide and place the tray over your teeth.
- For Upper Teeth: Push the tray upwards gently but firmly using your thumbs.
- For Lower Teeth: Push the tray downwards using your index fingers.
- Ensure Coverage: Make sure your teeth are centred in the putty and that the putty covers your gum line. Do not bite down—use your fingers to apply pressure.
- Hold Still: Keep the tray steady in your mouth for approximately 2–3 minutes (or as per the specific time on your kit’s packaging).
- Do not talk or move the tray during this time.
- Check Hardness: Gently touch the putty; if it feels firm and bounces back, it is ready.
Step 5: Removing the Mould
- Remove Gently: Slowly wiggle the tray side-to-side to break the suction.
- Pull Down/Up: Gently pull the tray away from your teeth (down for upper, up for lower). Do not pull by the handle alone; support the tray to avoid distorting the mould.
- Inspect: Check your mould. You should see a clear impression of your teeth and a visible gum line above/below the teeth.
- If the mould looks messy or the gum line isn’t visible, use the second set of putty to try again.
Step 6: Return Your Mould
- Rinse & Dry: Briefly rinse the mould under cold water and shake off excess liquid.
- Package: Place the completed mould (in the tray) back into the provided bag or protective box.
- Complete the Form: Ensure you have filled out your order details/form included in the kit.
- Send it Back: Mail the package to the Kabils Grillz Birmingham address listed on your return label/instructions.
Important Tips
- Do not use if you have loose teeth or major dental work in progress.
- Gum Lines Matter: We need to see where your tooth meets the gum to make the grillz fit perfectly.
- Be Fast: The most common mistake is taking too long to mix the putty.
Questions?
If you are unsure about your mould, take a picture and send it to us via Instagram or email before posting it back. We can confirm if it’s good to go!